How to Use Rubber Bands on Front Teeth in 5 Easy-to-Follow Steps
How Braces Rubber Bands Help Align Front Teeth
Braces rubber bands for front teeth are small interarch elastics that connect specific upper and lower brackets. They add gentle, targeted force where the archwire cannot, helping close an anterior open bite, improve how the front teeth meet, or fine-tune bite alignment.
To use them safely:
- Wash your hands and use a mirror.
- Hook the elastic only to the brackets or hooks your orthodontist marked.
- Stretch it gently into the prescribed triangle, box, or other pattern.
- Check that it is secure, then replace it as directed – at least once each day and after removal when instructed.
These elastics are not the small colored ligature ties around each bracket. Do not use store-bought bands, double up bands, or try to close a tooth gap on your own. The right pattern, size, and force depend on your bite.
At Melbourne Orthodontics, serving Melbourne, Florida, and Indian Harbour Beach, Florida, our team provides advanced orthodontic care and guides patients through braces rubber bands front teeth treatment with personalized plans that improve both smile appearance and bite function.
Understanding Braces Rubber Bands Front Teeth Patterns and Functions
When people think about braces, they usually picture the metal or ceramic brackets glued to each tooth and the thin wire connecting them. While the archwire aligns individual teeth within each dental arch, it cannot pull the upper and lower jaws toward each other. That is where interarch elastics do the heavy lifting.
Patients often wonder why orthodontists put tiny rubber bands around braces brackets. Those tiny, colorful rings are called ligatures, and their job is simply to hold the wire securely in the bracket slot. In contrast, interarch rubber bands hook between your upper and lower teeth to apply dynamic directional force. By pulling specific teeth together, they guide your entire bite into a healthy, comfortable alignment.
Why Orthodontists Use Braces Rubber Bands Front Teeth Configurations
Front teeth elastics address issues that archwires alone cannot solve. Understanding what orthodontic elastics do helps clarify why your specific pattern matters so much.
We commonly prescribe front-teeth rubber band configurations to:
- Close Anterior Open Bites: When front upper and lower teeth do not overlap or touch when closing your mouth, vertical or triangular elastic patterns gently pull them together.
- Correct Midline Asymmetries: If the center line between your two upper front teeth does not line up with the center of your lower front teeth, diagonal elastic vectors guide them into harmony.
- Level the Anterior Occlusal Plane: Rubber bands help extrude or settle front teeth that sit slightly too high or low relative to adjacent teeth.
- Coordinate the Front Bite: Elastics ensure that the upper incisors properly overlap the lower incisors with ideal overjet and overbite depth.
Common Vector Configurations for Bite Correction
Every smile is unique, and choosing the best braces for an underbite overbite crossbite involves configuring elastics to work with your specific jaw anatomy.
- Class II Vectors: Hooked from the upper canine (eye tooth) back to a lower molar. This vector pulls the upper front teeth backward and the lower jaw forward to reduce an overbite.
- Class III Vectors: Hooked from a lower front tooth or canine to an upper molar. This pulls the lower jaw backward and the upper teeth forward to correct an underbite.
- Anterior Triangle Patterns: Usually hooked across one upper bracket (such as an upper canine) and two lower brackets (canine and premolar), forming a downward-pointing triangle. This pulls the front bite closed vertically.
- Box Elastics: Hooked over four brackets (two upper and two lower) to form a rectangle. This delivers vertical leveling across multiple front teeth simultaneously.
- Crossbite Configurations: Attached from the tongue-side (lingual) of an upper tooth to the cheek-side (facial) of a lower tooth to pull teeth outward or inward.
5 Steps to Place and Remove Braces Rubber Bands on Front Teeth
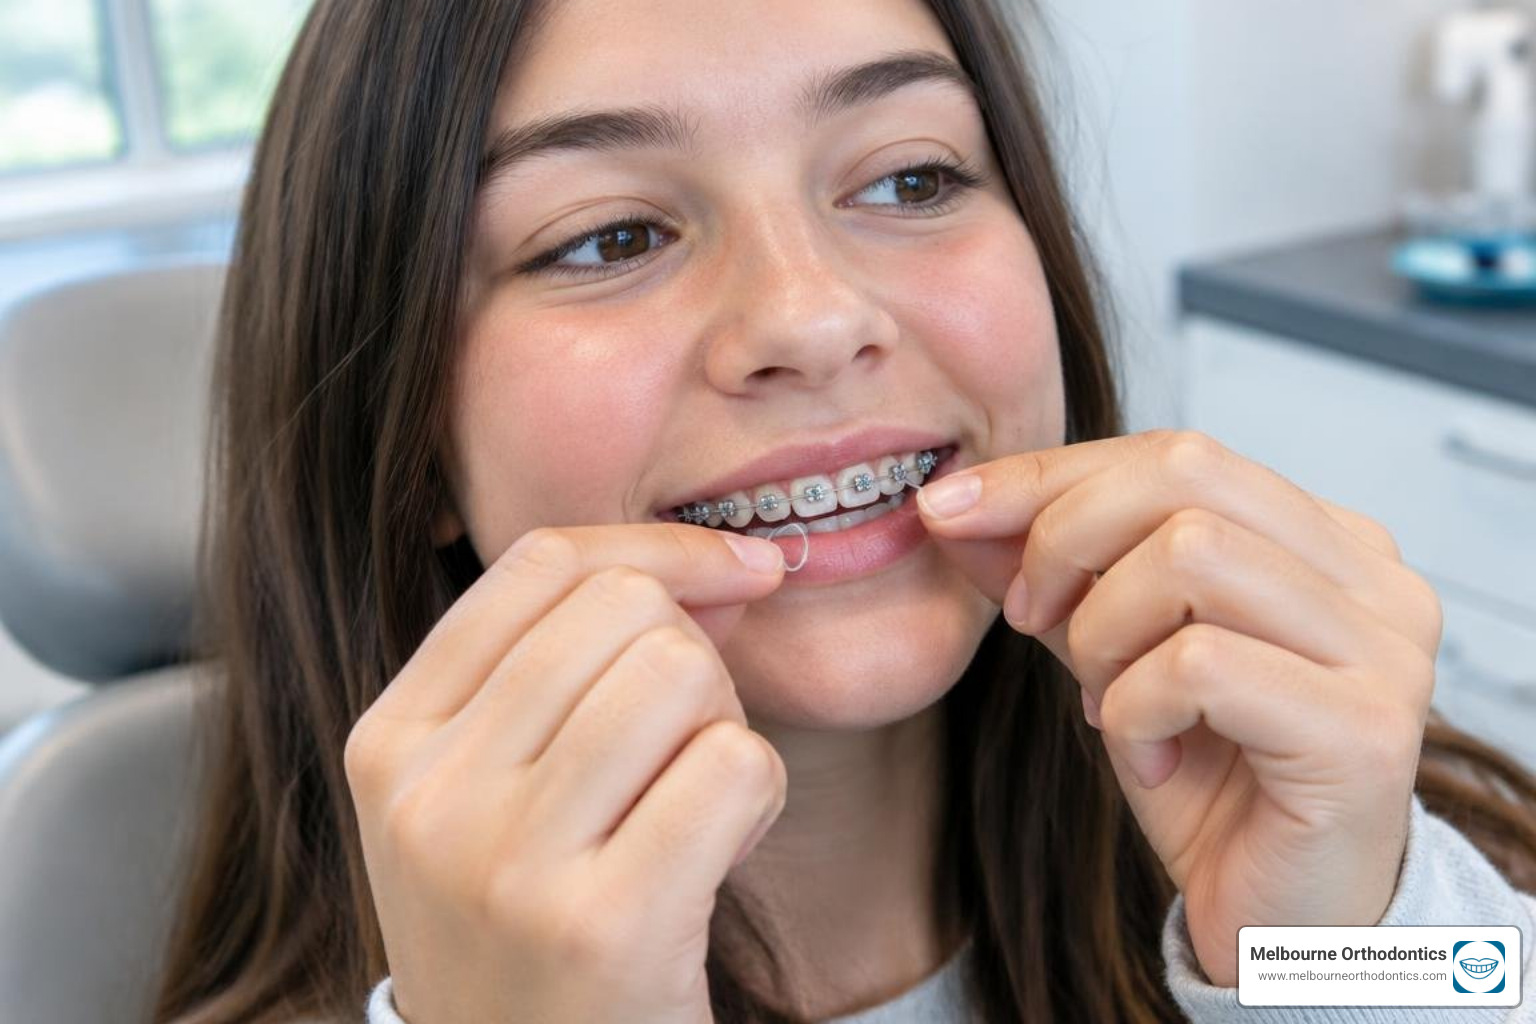
Placing rubber bands on your front brackets might feel tricky at first, but with a little practice, it quickly becomes second nature. Follow these five simple steps every time you put on a new set.
Step 1: Prep and Wash Hands
Always wash your hands thoroughly with soap and warm water before touching your mouth or braces. Stand in front of a well-lit mirror. Having a clean, dry paper towel handy to dry off any slick bracket hooks can make grasping the elastic much easier.
Step 2: Identify Your Bracket Attachment Hooks
Look closely in the mirror to locate the exact bracket hooks designated for your pattern. Front-teeth configurations usually anchor around the upper canines, lateral incisors, or first premolars. Make sure you remember the precise shape your orthodontist prescribed (such as a triangle or box).
Step 3: Hook the Elastic Using Fingers or an Applicator Tool
Grasp the elastic between your thumb and index finger, or slip it onto the notch of a small plastic orthodontic elastic placer. Start by securing the band onto the highest anchor hook—typically on your upper canine bracket. Make sure the elastic sits completely behind the hook so it does not slip off when stretched.
Step 4: Stretch and Secure the Band Across Target Brackets
Using your fingers or the plastic tool, gently stretch the band downward and across to the prescribed lower bracket hook(s). If you are placing a triangle pattern, hook the band around the first lower tooth and then loop it over the adjacent lower tooth before releasing tension. Check that the elastic forms a clean geometric shape without twisting unnecessarily.
Step 5: Verify Placement and Practice Proper Removal
Open and close your mouth slightly in the mirror to confirm the elastic stays attached and does not pop off. When it is time to eat or brush, remove the band by sliding a clean fingernail or the hook tool under the elastic and gently unhooking it from the bottom brackets first, then the top. Always throw used elastics in the trash—never reuse stretched bands.
Rubber Band Sizes, Force Strengths, and Material Types
Orthodontic elastics are precision medical devices manufactured to deliver exact amounts of force over specific distances. They are categorized by inner diameter and the pulling force they generate when stretched to three times their resting diameter.
Selecting Sizes and Force Levels for Braces Rubber Bands Front Teeth Wear
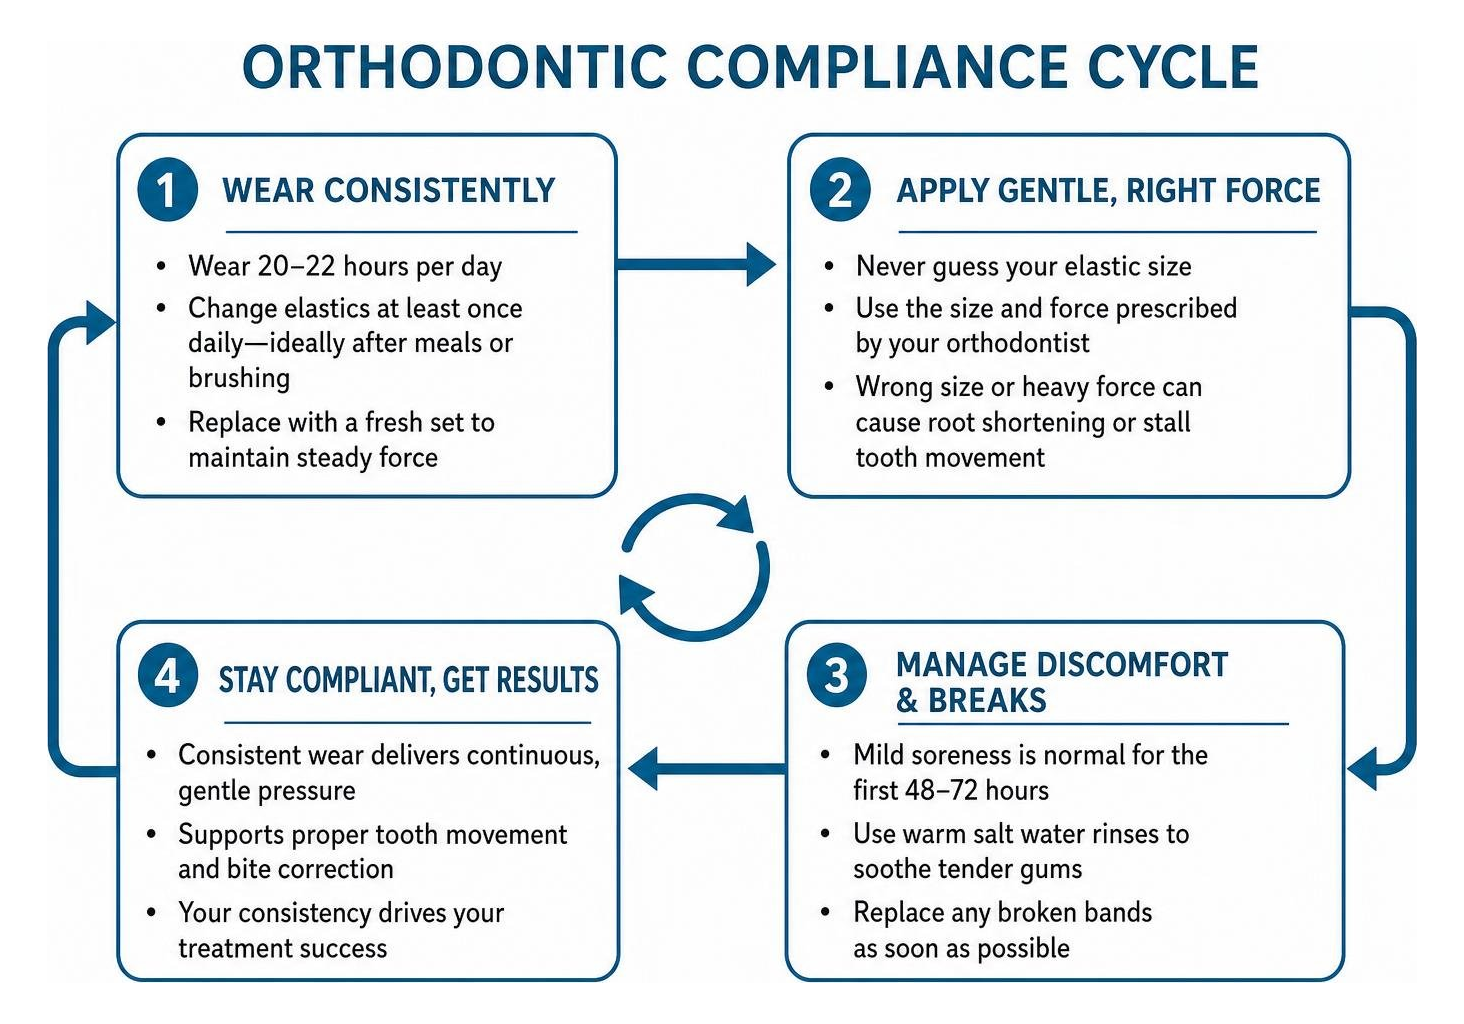
Never guess or swap your elastics. Your orthodontist chooses the exact band pattern, wear time, and replacement schedule for your teeth and bite. Using a different elastic, doubling up, or copying someone else’s setup can apply the wrong pressure, slow progress, or cause unwanted tooth movement. Follow your orthodontist’s instructions closely.
Latex vs. Non-Latex Intraoral Elastics
Most intraoral elastics are made from natural medical-grade latex because it provides consistent elasticity and force delivery throughout the day. However, synthetic non-latex elastics (often made from medical-grade polyurethane or silicone) are standard for anyone with a latex sensitivity or allergy.
While non-latex bands are clear and completely hypoallergenic, clinical studies show they can lose force slightly faster than natural latex when exposed to saliva. For this reason, patients wearing non-latex bands may need to replace them more frequently throughout the day to maintain constant tension.
Managing Discomfort, Wear Schedules, and DIY Risks
Adjusting to front-teeth rubber bands involves building consistent habits and understanding braces common challenges what to expect and how to manage them.
Wear Duration and Daily Replacement Schedules
Understanding why you have to wear your rubber bands consistently is crucial. Orthodontic elastics work best when worn for at least 22 hours per day.
Rubber bands fatigue as they stretch from talking and jaw movement. At Melbourne Orthodontics, we recommend that patients change their interarch elastics at least once a day—and ideally replace them with a fresh set after meals or brushing—to keep the corrective force steady.
Managing Soreness and What to Do When Bands Break
When you first begin wearing elastics on your front teeth, mild soreness in your teeth and jaw joints is normal during the first 48 to 72 hours. This discomfort indicates that the biological remodeling process has begun. You can manage these common issues with new braces with:
- Warm Salt Water Rinses: Dissolve half a teaspoon of salt in warm water and swish gently for 30 seconds to soothe tender gums.
- Orthodontic Wax: Place a small bead of wax over any bracket hook that rubs against your inner lips or cheeks.
- Over-the-Counter Pain Relievers: Acetaminophen or ibuprofen can help alleviate initial tension.
- Always Carry Spares: Keep a small pack of elastics and an applicator in your backpack, purse, or desk so a snapped band never leaves you without tension for hours.
If a bracket hook bends or breaks off completely, do not attempt to hook the band to an unprescribed tooth. Contact our office so we can repair the attachment.
The Dangers of DIY Gap-Closing with Elastic Bands
You may have seen online videos suggesting you can close a gap between your front teeth (diastema) by wrapping a standard rubber band directly around the two teeth. Never do this.
Without orthodontic brackets to anchor the elastic, the band will creep upward beneath the gumline. Once under the gums, the elastic strangles the periodontal ligament and blood supply, destroying the supporting alveolar bone. This dangerous practice leads to severe infection, irreversible root damage, and rapid, permanent tooth loss. Bite correction and gap closure must always be performed under professional orthodontic supervision with calibrated brackets and wires.
Frequently Asked Questions About Braces Rubber Bands
How long does it typically take to see results on front teeth?
Most patients begin seeing noticeable bite improvements within 4 to 8 weeks of consistent wear. However, total time wearing front-teeth elastics ranges from several months to a year depending on the complexity of your bite.
Can you eat while wearing rubber bands on front teeth?
In most cases, you should remove front elastics before eating meals or snacks. Chewing with front elastics in place stretches them beyond their intended limit, leading to frequent breakage and awkward chewing mechanics. Remove them before eating, brush or rinse your teeth, and immediately put on a fresh pair.
What happens if you skip wearing your elastics?
Skipping your elastics allows teeth to drift back toward their original positions. Orthodontic force requires continuous tension; taking a few days off can set your progress back by weeks and extend your total time in braces.
Conclusion
Mastering how to place and wear your front-teeth rubber bands is one of the most important steps in your orthodontic journey. While the brackets and wires set the foundation, your elastics provide the targeted force needed to pull your bite together into perfect harmony. By following our 5-step placement routine, maintaining consistent daily wear, and replacing your bands at least once a day, you will keep your treatment on schedule.
At Melbourne Orthodontics, we proudly serve patients throughout Melbourne, Florida, and Indian Harbour Beach, Florida, providing warm, personalized care every step of the way. If you ever have questions about your prescribed pattern or need more guidance on what orthodontic elastics do, our experienced team is here to help you achieve a healthy, confident smile!